Did you ever find *.9.png in your Android application folder? This is an image type supported by Android. You will find some Android applications having small images (only some pixels). Usually, it’s used on native Android pop-up or other screens from a native. So, what is *.9.png? According to Android Dev’s site, *.9.png or Nine- patch is
..a PNG image in which you can define stretchable regions that Android scales when content within the View exceeds the normal image bounds.
For complete information and properties how to use it, you can visit the site. So, what is the advantage of using this type of image? How do we make this image?
As far as I know, this type of image can help the developers to reduce apk size from assets side. Using this image, we can reduce the asset size but still get good quality of buttons. Before we start to make a new .9.png image, better to know the structure of this image. Below is basic guide map I got from A Simple guide to 9-patch for Android UI.

- Scalable area
X/Y area that can be scaled based on your customization or text inside it.
- Fill area
X/Y area for the text/object inside it.
What tool can you use?
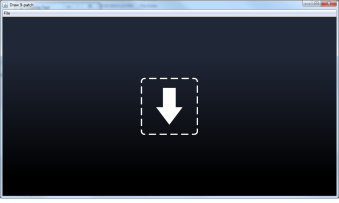
- If you already have android SDK, you can search the tools in ..\sdk\tools\draw9patch.bat. You will see image below at the first time you open this editor.
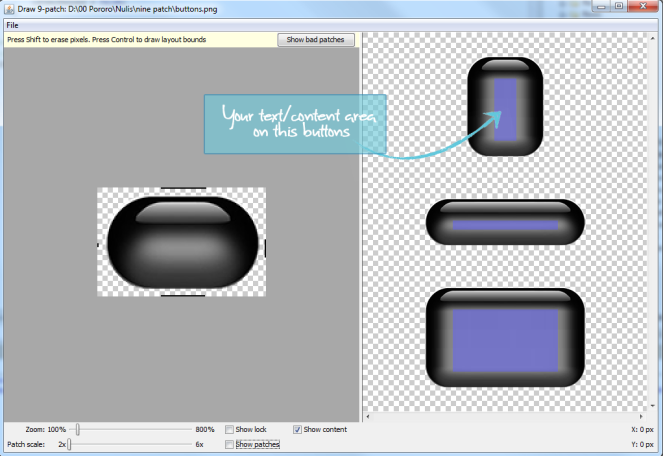
- Choose your button.png! I used the image below.

- The editor will give you 3 preview images on the right side (X scale, Y scale, and X & Y scale)
- Check show patch to show the scalable area of the button.

- Draw your scalable area by clicking on left area (your image source) – top, right, bottom, left. You can draw more than one line on each side.
- Check show content to show content area on button.
- Save your 9-patch.
- Done!

For further information about implementation of this button, please check links below.
Happy trying!
References:
